
Office Facelift Part #1
We had many problems in our office space that caused bad work habits, inability to work together, cramped spaces, and just ugliness.
Here is how we went about fixing all of these problems.
In picture #1 you can see our unfinished company logo sign, which is displayed directly below picture #1. This will be the main sign we use to represent our main company that oversees all of our smaller individual companies.
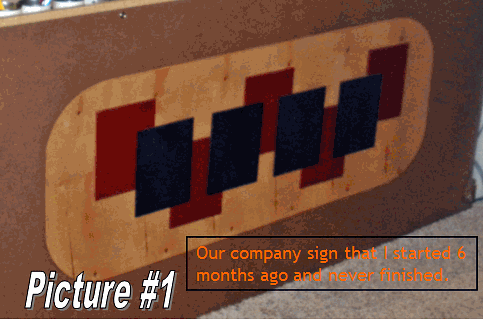
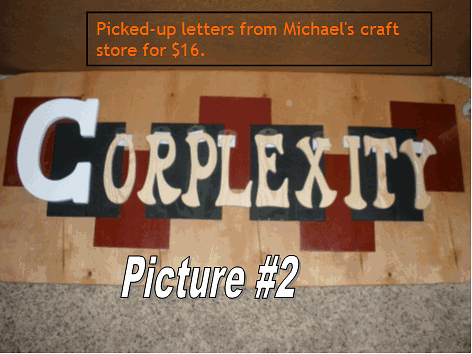
We designed and started building this sign about 6 months ago and got side tracked. We finally got back to Michael’s craft store and picked up the letters we need to finish the sign. As you can see in picture #2.
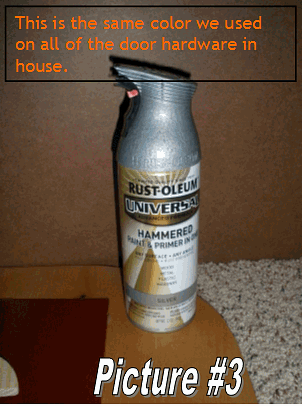
Picture #3 shows the spray paint we used to paint the letters. This is the same colored used in many other ares of our home remodeling. We like to keep things consistent.
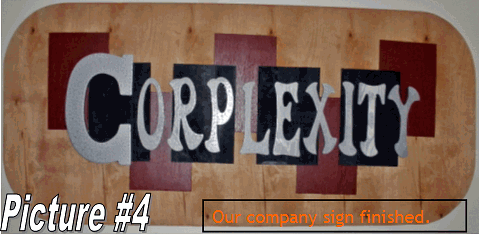
In picture #4 you can see our finish company logo sign that hangs just above our desk.
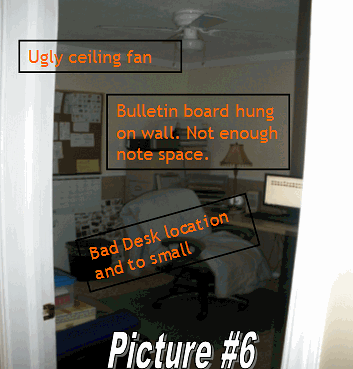
Here in picture #5 and #6 you can see many of the problem areas in our office.
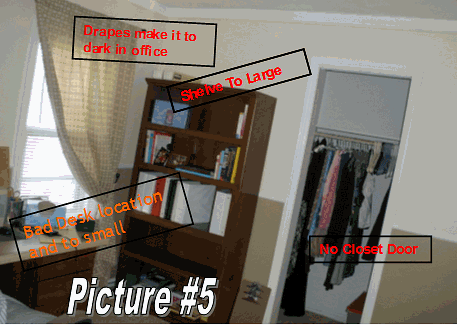
Picture #5 shows you that with the current drapes on the windows it is to dark in the small office space. Also we have this book shelve which is to large and under utilized which we decide will be refinished and used in our foyer as a shoe storage rack.
We will be showing how we refinished the shelve unit in a later article.
Next you can also see that the desk we currently use is only 5 foot long and does not allow use to work together in our office space. And lastly in picture #5 you will notice we do not have a closet door up yet.
In picture #6, you will see we need to build a communication board area for all of our paper work, note taking, and list building.
Next, in picture #6 also shows the plain white boring ceiling fan and again the poor size of the desk.
Picture #7 shows the finished communication board we built.
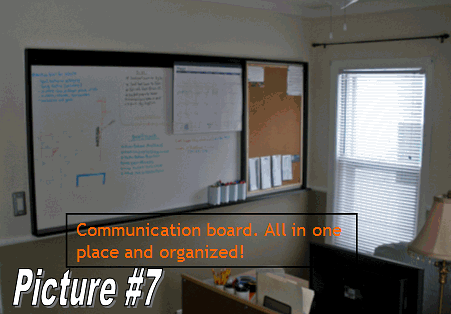
Here is our finished communication work center. For the full article about how we constructed this click here: COMMUNICATION BOARD PROJECT.
Now in picture #8 you can see we addressed the ugly boring fan issue. We wanted to stay with the same color theme through out the office area so we choose the same glossy black and hammered silver we used to paint all of our door and door hardware. You can see the full article about us redoing our doors by clicking here: DOOR TRANSFORMATION PROJECT.
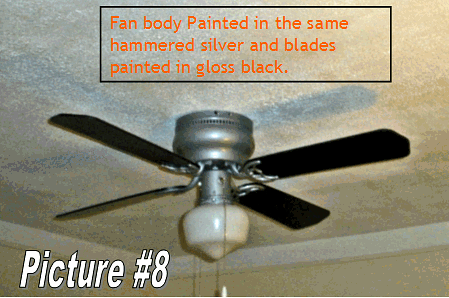
Now the fan is new and exciting looking and matches rest of the rooms decore.
Now on to our cramped desk issue. We wanted to salvage as much of our old desk as possible. The base filing drawer cabinet and the storage cabinet work well as bases to support the new desk.
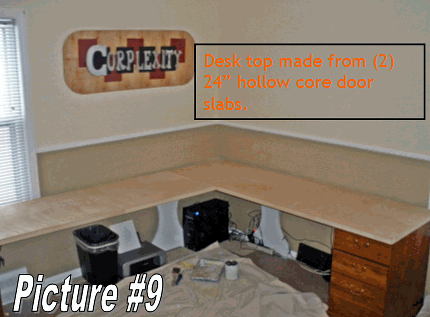
We wanted to make as large of a desk as possible without it taking up to much room in the office space or costing too much. We love to be thrifty. As you can see in picture #9, we bought 2 plain 24” x 80” hollow core slab doors for our desk tops. These only cost $19 each at Home Depot. This will allow both of us to work at the desk at the same time with space to spare. For the support legs in the corner of the desk we had an old table that we got for free from a neighbor that moved. We did not really want the table anymore but the legs were perfect for this task. Picture #9 shows how we used the doors.
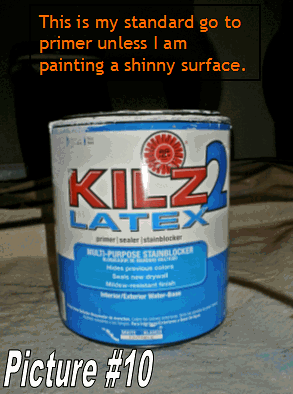
Picture #10 shows our favorite stand by primer that we use most of the time. We needed to seal the wood before painting the top finishing color coats.
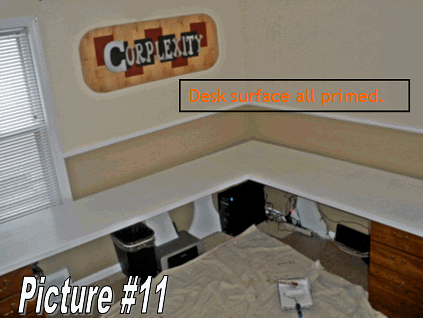
Here is the desk top after being primed. Picture #11.
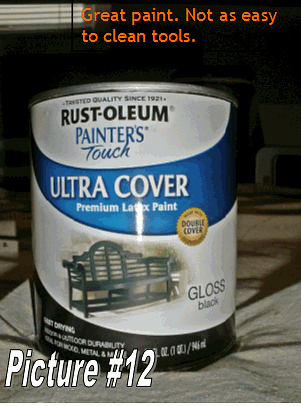
Picture #12 shows the paint we used for the desk. This is the same color and brand we used on all of the doors except that was in spray form. This paint is great for east coverage of dark or bold colors on a surface that will take a lot of abuse.
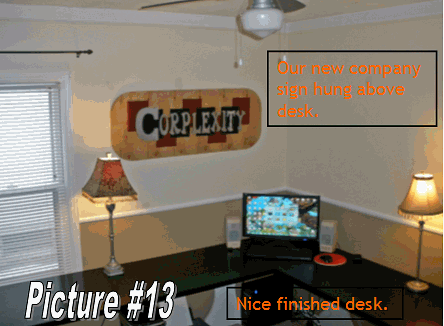
In picture #13 and #14 you can see the finished desk tops. This took 2 coast of black paint to build up a surface that is super thick and durable for everyday use. We will still be going back this summer, when we can get outdoors, and applying a thick layer of clear coat to protect the surface future.
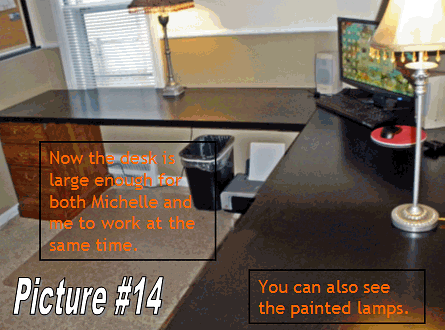
You can see in picture #14 we repainted both of the mismatched lamps with the same silver color for more continuity. We show you the lamps more in the next couple of picture.
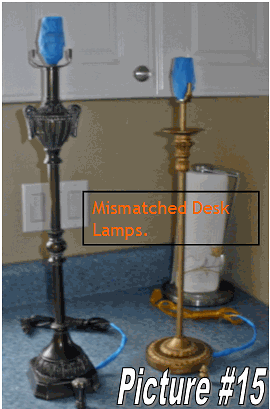
Picture #15 Shows the lamps before repainting. Nice lamps but we wanted them to be the same color and blend more with the rooms design.
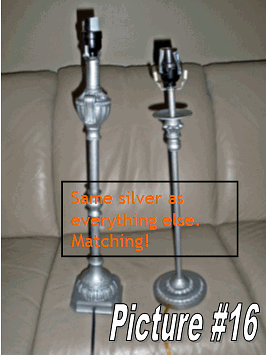
Here in picture #16 you can see now both lamps flow better with rest of the colors used in the office work space.
That is it for now in our office. Later as we get into the warmer spring and we can work outdoors with out freezing we will be painting the desk base cabinets and support legs with the red color we used on the company sign. We want to add a splash of color in this space. We will also being some window topper curtain with some of these same colors. Lastly we will be adding a file system and shelving to the side of the desk for storage.
When we finish up all of these projects we will give you an update.
For now, we have a new desk and more space to work together.

To See All Of Our Home DIY Projects: Click Here!


