
Backyard Trellis Art Project
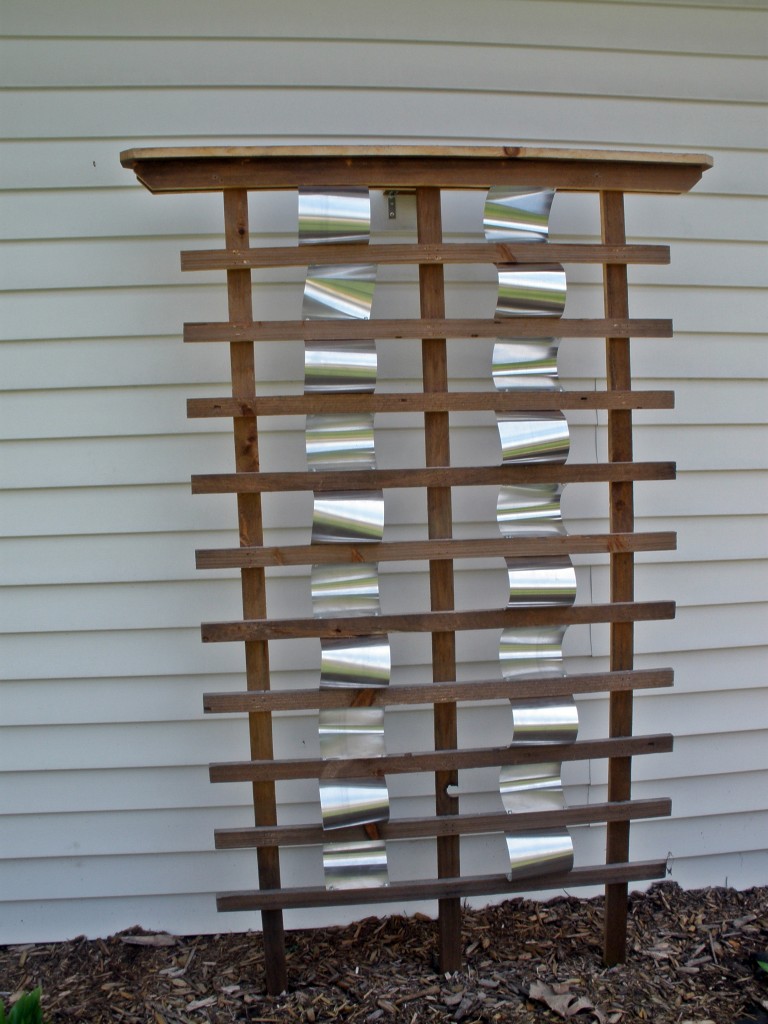
This past weekend while I was sitting on our backyard swing, I was looking at the trellises that I had made last summer out of some scrape cedar boards. I was thinking about how to add more artistic flare to then before planting vines around them.
In Picture #1 below you can see the trellises as they were before the project.
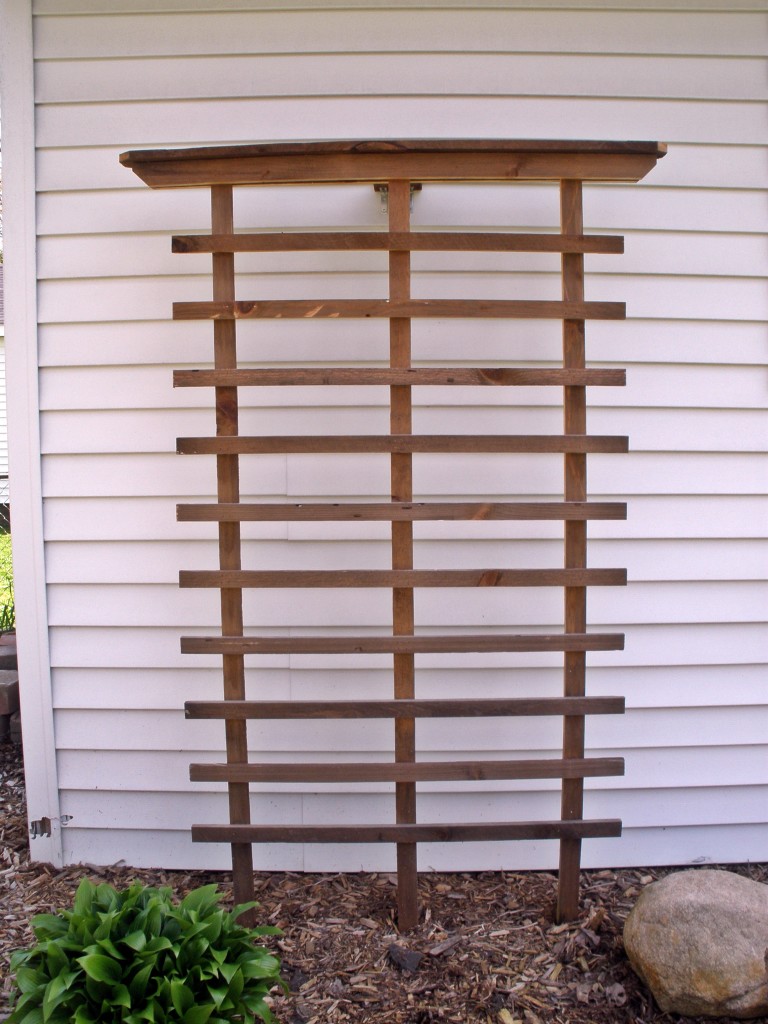
Picture #1
They look ok but nothing special. After looking through all of my left over supplies from my handyman job I can across a bunch of packets of 5” x 7” Aluminum step flashing.
Here in Picture #2 you can see what I am talking about. 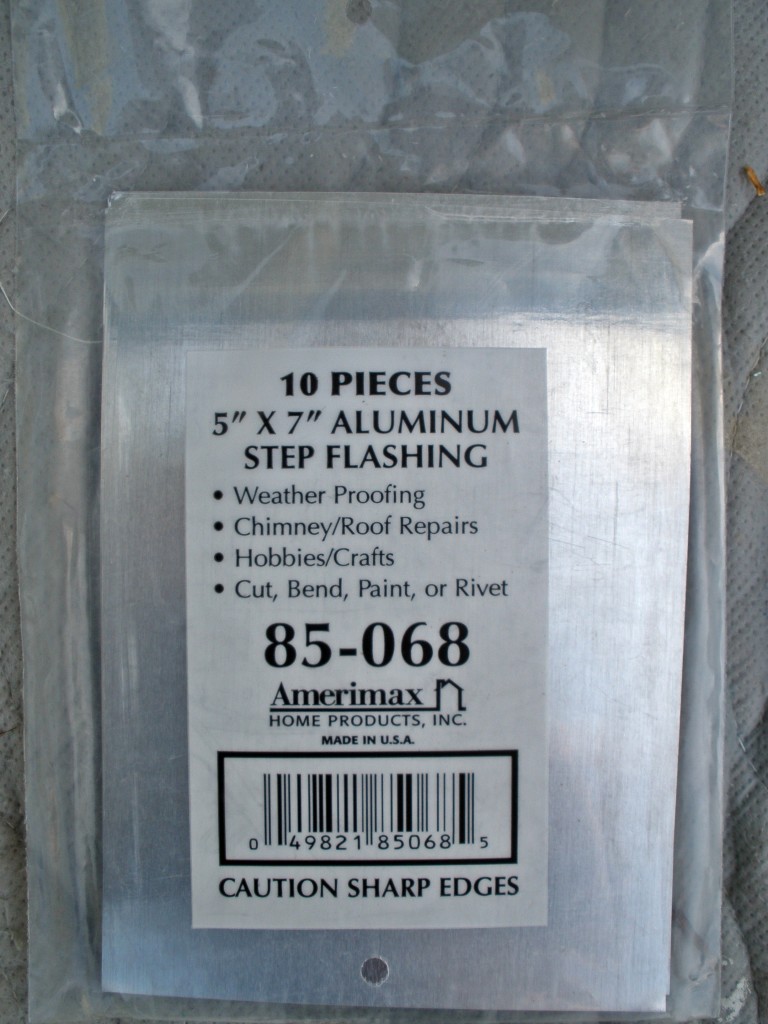
Picture #2
I decided to create silver back and forth wave effects running through the trellises.
I gathered up my screw gun the Aluminum flashing and a container of hex head duct screw. I figured that the sheets were very light duty so I did not want screws that were very long and I needed screws that are weather proof.
Here in Picture #3 you can see the screws that I used. 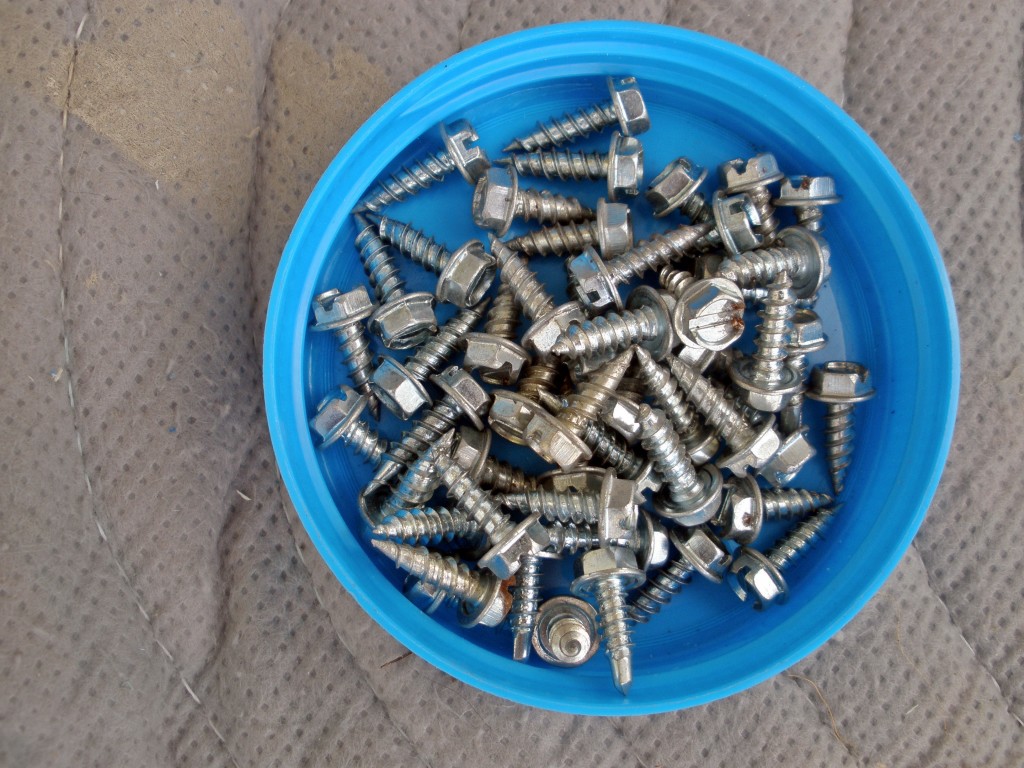
Picture #3
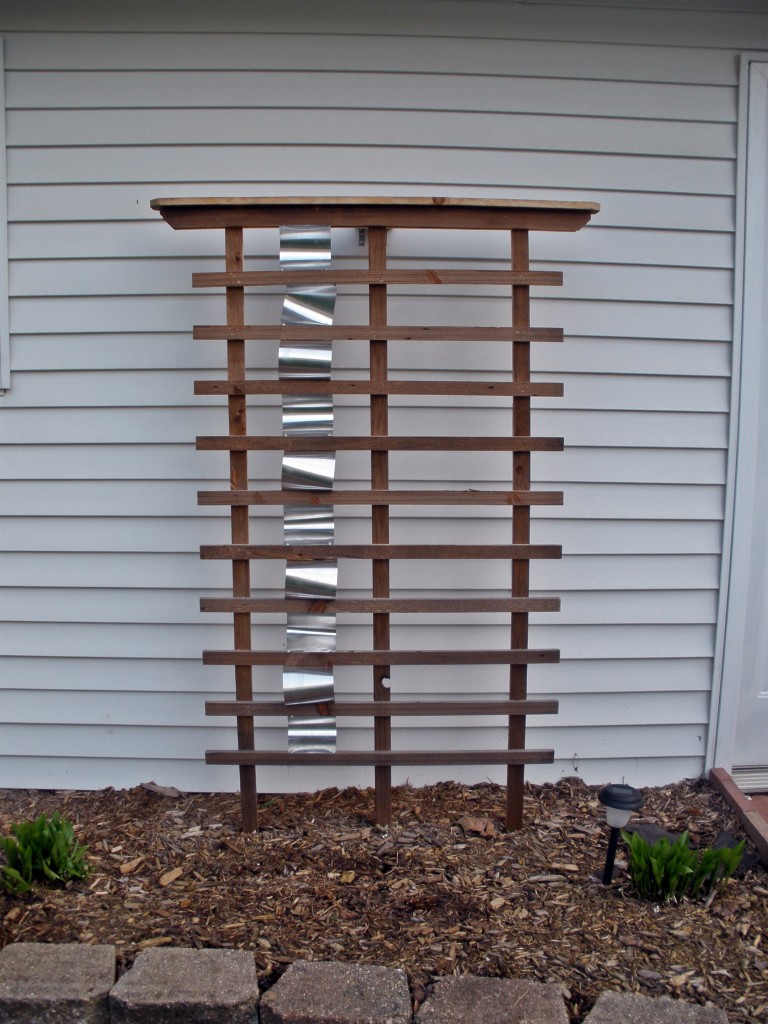
Here in Picture #4 you can see the first side of one of the trellises completed. As you can see, I attached each piece of flashing to the horizontal cross bars using 4 screws. I did not measure for this project because I specifically wanted more of a free wave effect. I slightly offset each sheet very slightly to create this effect.
Picture #4
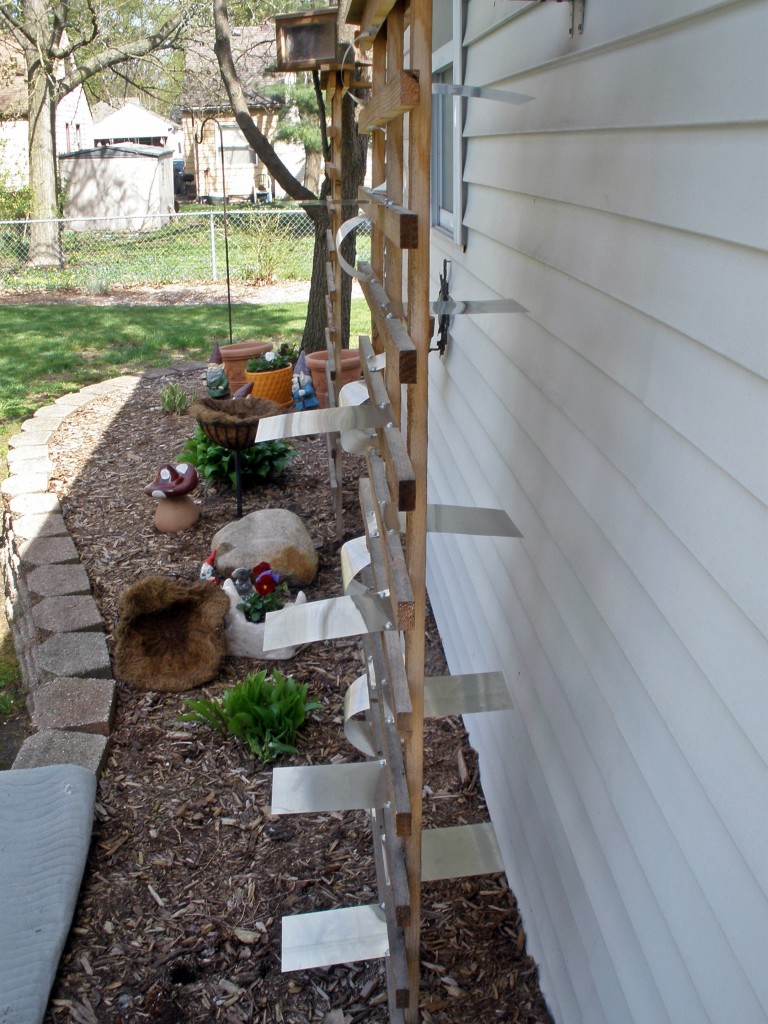
In Picture #5 you will see how I laid out and attached each sheet to get then close to inline with each other.
Picture #5
After attaching the sheets back and forth to each cross member it was easier to manipulate the sheets while attaching the top screws to give me the desired visual effect.
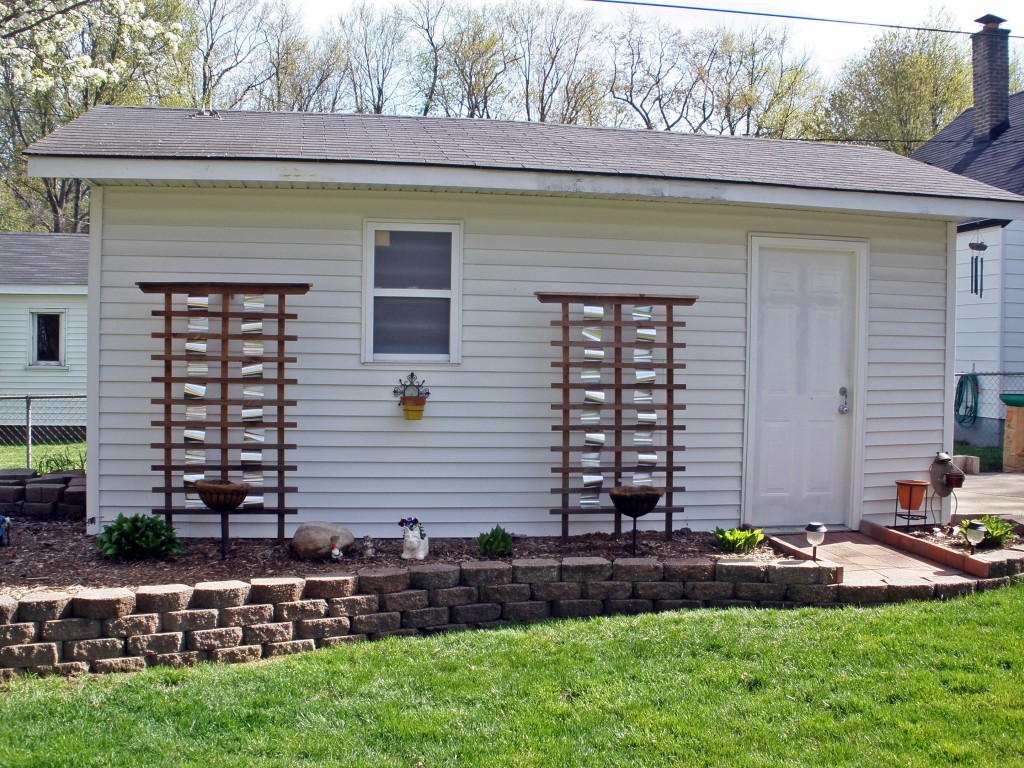
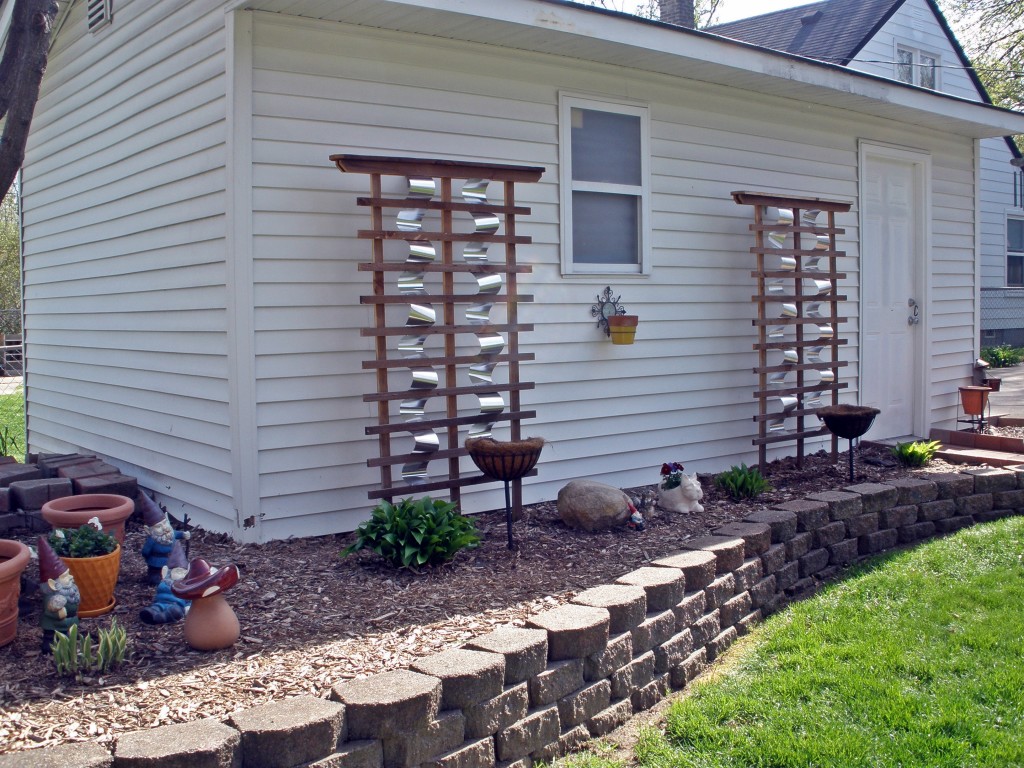
In Picture # 6 and Picture #7 you can see both trellises finished.
Picture #6
Picture #7
The total cost of the project to me was free because I already had the materials. I did go to Home Depot just yesterday and I priced the materials so I would have an idea of cost. The step flashing packets come in a 10 pack and cost $2.29 each. I used 4 packs of flashing. The duct screws come in a box of 250 screws for $6.63. so the total cost for this project would be $16.74 with tax.
While at the store I did pick up a can of red spray paint so I could paint the side service entrance door to the garage. I wanted to add a bit more color splash to the side of the garage.
Here in Picture #8 and Picture #9 you can see how my 2 simple projects added a lot more character to a plain space. When we moved in to this house a few years ago there was no pathway from the service door to the lawn. I build a stone block pathway for access. I raised the level of the existing stone wall so that the top height continued all the way around. Next, I added side brick walls to the pathway to contain the mulch. We had to remove the old bush that was next to the garage because it was just ugly.

Picture #8: Before
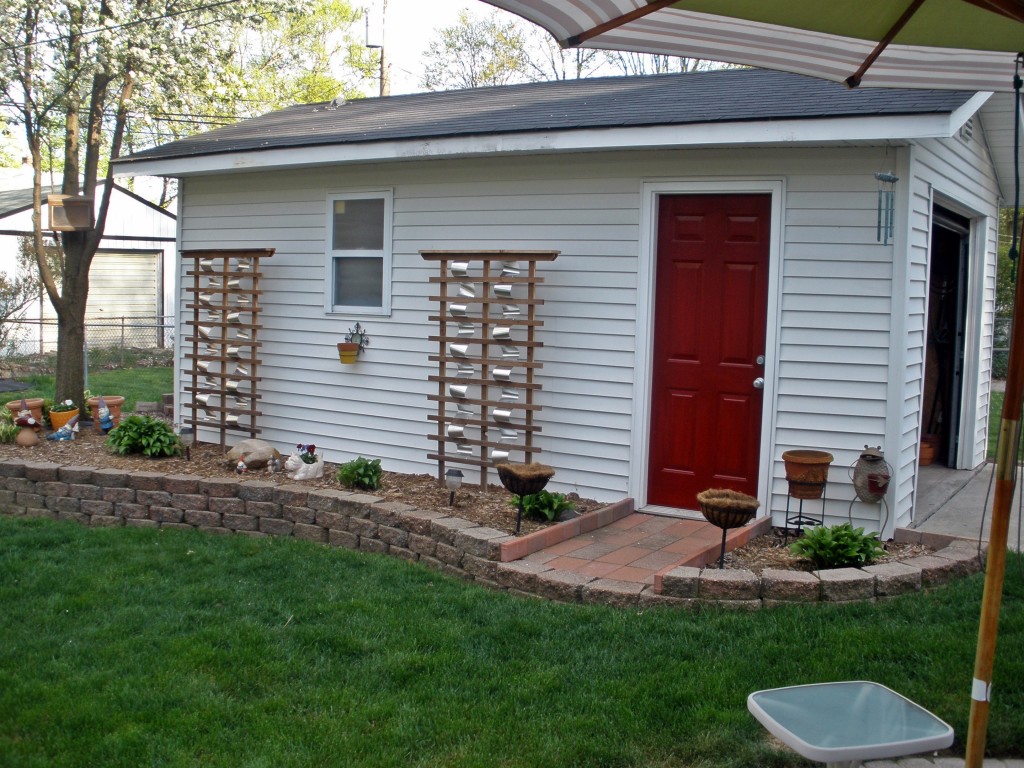
Picture #9: After
Now with some color and some new art work to boot we are on our way to a much more visually appealing backyard.
If You Would Like To See All Of Our Corliss Home Projects: CLICK HERE!


