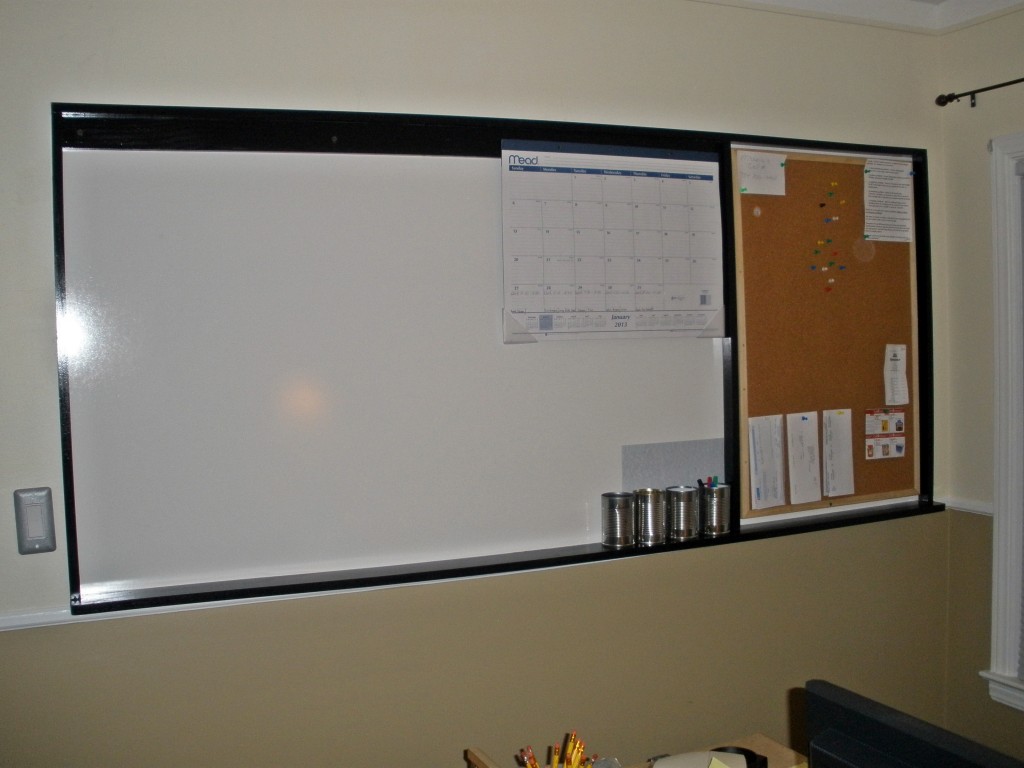
We want to create an office communication board where we have a large “White Board” for being able to draw website pages; also we wanted an area to attach our cork board, and finally a space to mount our large desk calendar.
After a few sample drawings we came up with a design that would work for us with the wall space we have to hang the completed project.
We wanted a very simple design. Like always we want quality but with a very small price tag. Here is a price breakdown for all of the materials.
Wood for frame $27.69
Paint & Primer $6.88
Nails & Glue $2.44
White Panel Board $11.87
Cork Board $8.57
Calendar $4.99
Cans Free
Total with tax $64.94
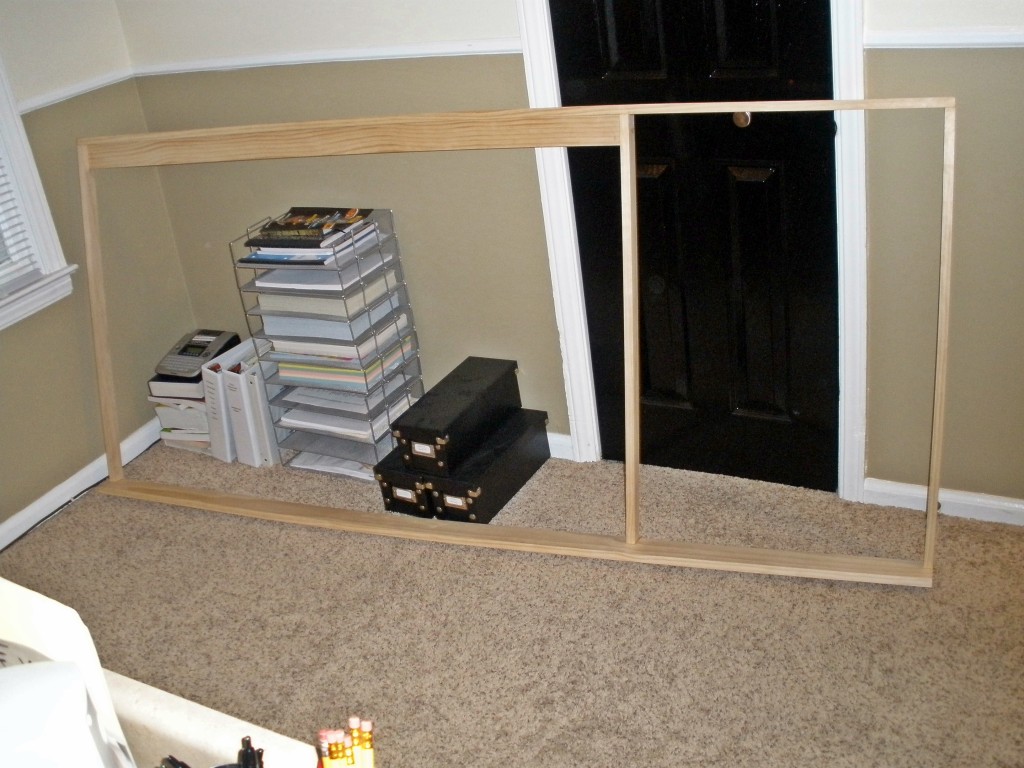
In this first picture you can see the frame assembled. We used a 16 gage nail gun and wood glue on the corners and along the top edge to assemble the frame.
If you want to read how we re-finished our doors you can read this article here: Interior Door Transformation
After a full 24 hours of allowing the black spray paint to dry, we laid the frame on its face side, on top of a drop cloth. Next, we arranged the White Panel Board on the back of the frame, making sure all of the edges lined up neatly. (We had the white panel cut to size for us at the store to save from having to get the table saw out in the winter time.)
We used ¾ long linoleum nails to attach the white board to the frame; spacing the nails about every 12”.
When we had the back panel fully attached, we drilled 4 starter holes in the top 1” x 3”, and using 2 ½ drywall screws, we attached the board assembly to wall studs to ensure that it did not move around. Next, we attached the cork board with (3) 2 ½ drywall screws through the frame on the cork board, centering it in the space that we build.
Lastly, we used (2) 2” finish screws to attach the calendar to the top 1” x 3”.
Here is the finished project:
Check Out All Of The Projects That We Have Completed At Our Home: Click Here!
By: Tom Corliss


